[SpringBoot] SpringBoot H2 데이터베이스 설정
2022. 11. 21. 21:45ㆍ문제해결
1. 의존성 추가
gradle
dependencies {
    implementation 'org.springframework.boot:spring-boot-starter-data-jpa'
    implementation 'org.springframework.boot:spring-boot-starter-web'
    implementation 'org.projectlombok:lombok:1.18.24'
    runtimeOnly 'com.h2database:h2'
}
2. h2 데이터베이스 설정
application.yml에 "local", "dev" 프로파일 그룹을 생성한 다음 "testdb" 프로파일에 h2 데이터베이스 설정을 하겠습니다.
spring:
  profiles:
    group:
      "local": "testdb"
      "dev": "testdb"

---
spring:
  config:
    activate:
      on-profile: "testdb"

  datasource:
    url: jdbc:h2:mem:test
    username: sa
    password:
    driver-class-name: org.h2.Driver

  jpa:
    defer-datasource-initialization: true
    database-platform: org.hibernate.dialect.H2Dialect

  sql:
    init:
      data-locations: "classpath*:/data.sql"
      mode: always

  h2:
    console:
      enabled: true
      path: /h2-console
      settings.trace: false
      settings.web-allow-others: false

jpa:
  hibernate:
    ddl-auto: create

  properties:
    hibernate:
format_sql: true- "local"과 "dev" 프로파일 그룹은 "testdb" 프로파일을 사용합니다.
- spring.datasource.url = jdbc:h2:mem:test : 인 메모리 저장소 방식으로 연결하여 실행동안만 메모리에 데이터를 일시적으로 저장하여 데이터베이스 역할을 수행하게 합니다.
- h2 데이터베이스 username=sa, password는 없음으로 설정합니다.
- spring.jpa.defer-datasource-initialization=true : 기본적으로 data.sql 스크립트는 하이버네이트 초기화가 되기전에 실행되기 때문에 하이버네이트에 의해 스키마가 생성된 이후에 data.sql 스크립트를 실행하도록 합니다.
- spring.h2.console.enabled=true : 내장된 h2 데이터베이스를 GUI로 보기 위해서 콘솔창을 활성화시킵니다. 기본적으로 비활성화되어 있기 때문에 콘솔창을 보기 위해서는 true로 설정하여야 합니다.
- spring.h2.console.path=/h2-console : h2 데이터베이스 콘솔창에 접근하기 위한 경로를 설정합니다.
- 접근시 "http://localhost:8080/h2-console"과 같은 형식으로 접근합니다.
- spring.h2.settings.trace=false : trace 출력을 노출시키지 않기 위해서 false로 설정합니다.
- spring.h2.settings.web-allow-others=false : 원격 접근을 비활성화합니다.
3. h2 데이터베이스 초기화
3.1 resources/data.sql 파일에 샘플 데이터 삽입 스크립트를 작성합니다.
INSERT INTO MEMBER (NAME) VALUES('김용환');
INSERT INTO MEMBER (NAME) VALUES('홍길동');
3.2 MEMBER 엔티티 클래스를 정의합니다.
@Entity(name = "member")
@Getter
@NoArgsConstructor(access = AccessLevel.PROTECTED)
@AllArgsConstructor
public class Member {
    @Id
    @GeneratedValue(strategy = GenerationType.IDENTITY)
    @Column(name = "member_id")
    private Long id;
    private String name;
}
4. h2-console 열기
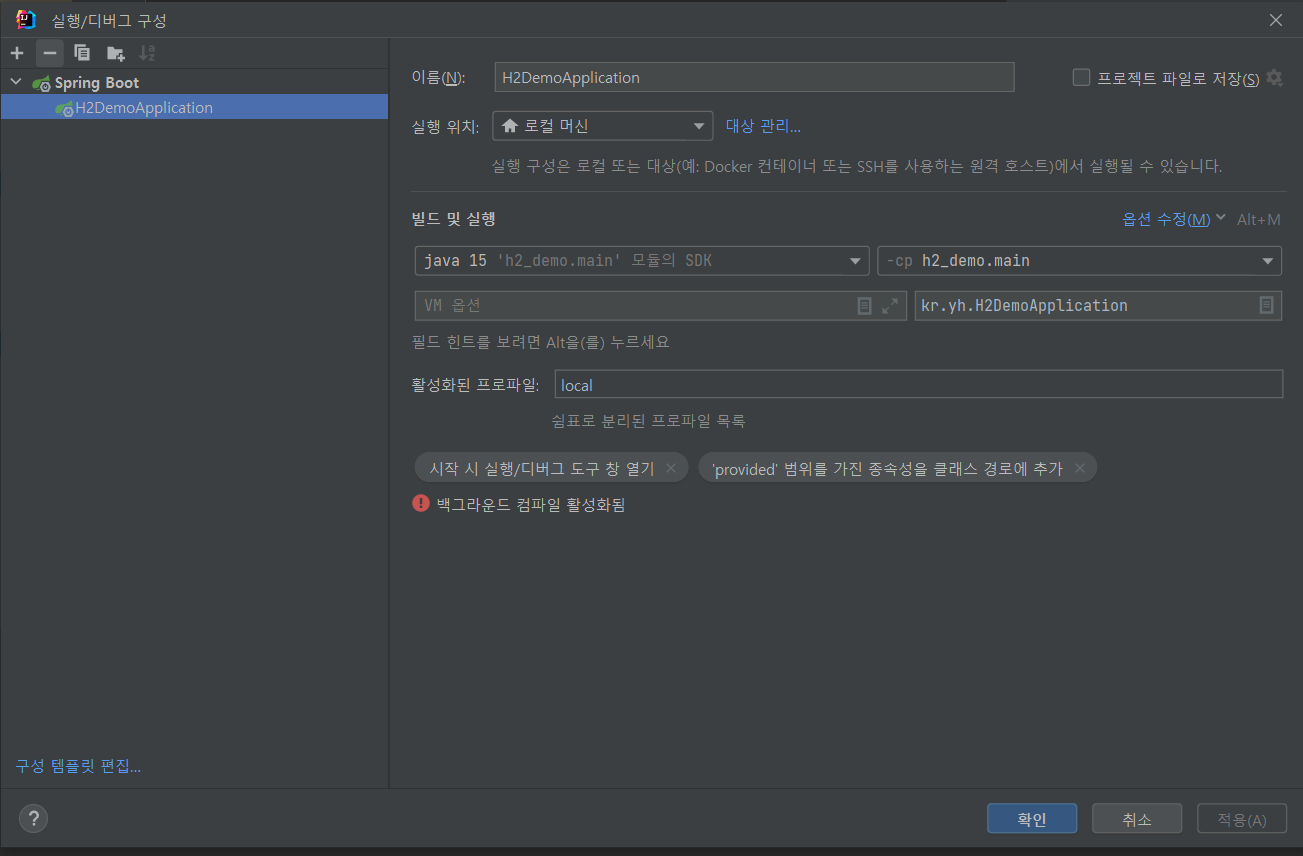
4.1 애플리케이션 실행 시 프로파일을 "local"로 설정하고 실행
4.2 브라우저 검색창에 다음과 같이 입력하여 h2-console 창을 실행합니다.
http://localhost:8080/h2-console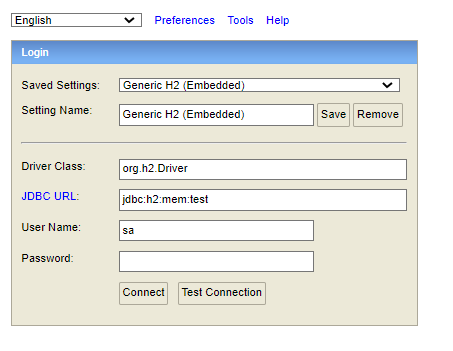
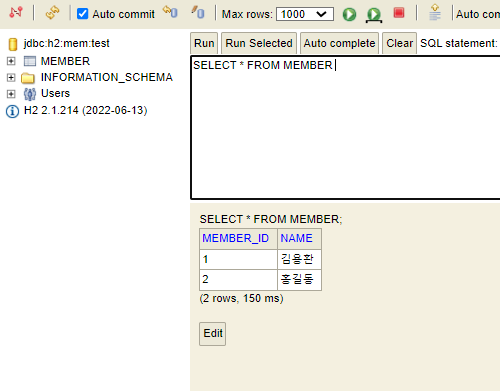
Connect 버튼 클릭시 다음과 같이 실행시 샘플 데이터 초기화된 결과를 볼 수 있습니다.
References
Spring Boot With H2 Database
'문제해결' 카테고리의 다른 글
| JDK18 한글 인코딩 문제 (0) | 2023.02.06 |
|---|---|
| [docker] mysql conatiner 생성시 포트포워딩 문제 (0) | 2022.12.21 |
| [thymeleaf][springboot] img 태그의 src url 설정 (0) | 2022.11.15 |
| [SpringBoot] @TestPropertySource 애노테이션 사용시 yml 파일의 프로퍼티 불러오기 (0) | 2022.10.31 |
| [SpringBoot] 회원가입 서비스의 패스워드 암호화 (0) | 2022.09.09 |