2021. 7. 1. 21:50ㆍJAVA/Spring
본 글은 최범균 저자의 초보 웹 개발자를 위한 스프링5 프로그래밍 입문 도서의 내용을 복습하기 위해 작성한 글입니다.
1.3 그레이들 프로젝트 생성
그레이들 프로젝트를 생성하는 과정은 메이븐과 크게 다르지 않다. 차이점은 pom.xml 파일 대신에 build.gradle 파일을 작성한다. 폴더 구조도 동일하다.
step1 그레이들 프로젝트를 생성하기 위한 build.gradle 파일 작성
apply plugin: 'java'

sourceCompatibility = 1.8
targetCompatibility = 1.8
compileJava.options.encoding = "UTF-8"

repositories {
    mavenCentral()
}

dependencies {
    implementation 'org.springframework:spring-context:5.0.2.RELEASE'
}

wrapper {
    gradleVersion = '7.1'
    distributionUrl = distributionUrl.replace("bin", "all")
}
gradle이 최신버전에서는 compile을 지원하지 않게 되어 compile을 implementation으로 대체하게 되었다. 그리고 task wrapper (type : Wrapper) 에서 wrapper로 변경하였다.
step2 wrapper 파일 생성
sp5-chap02$ gradle wrapper --gradle-version 7.1 --distribution-type all

명령어 실행이 성공하면 gradlew.bat 파일, gradlew 파일, gradle 폴더가 생성된다.
- gradlew.bat : 윈도우에서 사용할 수 있는 실행 파일, gradle 명령어 대신 사용할 수 있는 래퍼 파일
- gradelw : 리눅스에서 사용할 수 있는 실행 파일, gradle 명령어 대신 사용할 수 있는 래퍼 파일
gradlew.bat, gradlew 래퍼 파일을 사용하면 그레이들 설치 없이 그레이들 명령어를 실행할 수 있다. 소스 코드를 공유할 때 gradle wrapper 명령어로 생성한 두 파일(gradlew.bat, gradlew)과 gradle 폴더를 공유하면 그레이들을 설치하지 않은 개발자도 생성한 래퍼 파일을 이용해서 그레이들 명령어를 실행할 수 있다.
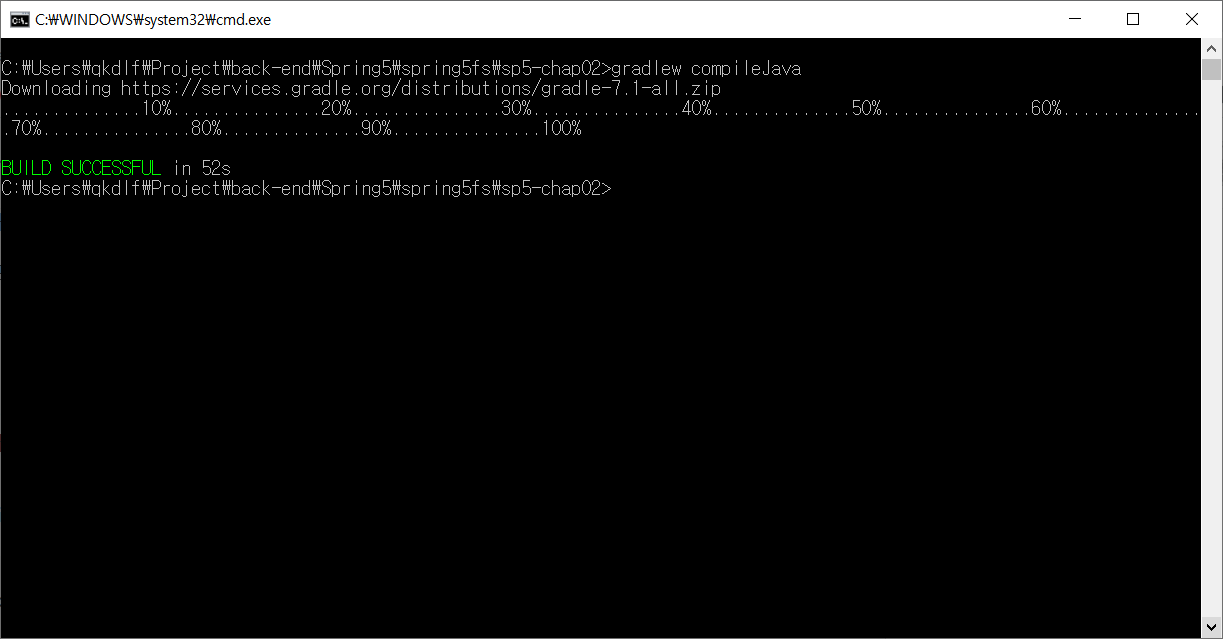
step3 gradlew compileJava 명령어 수행
sp5-chap02 $ gradlew compileJava

1.3.1 그레이들 프로젝트 임포트
step1 File->Import 메뉴 선택
step2 Gradle/Existing Gradle Project 선택 후 Next 버튼 클릭

step3 Project root directory 경로 설정

step4 그레이들 프로젝트 생성 확인

1.4 예제 코드 작성
step1 src/main/java/chap02 package 생성
step2 java/chap02 패키지에 AppContext.java, Greeter.java, Main2.java 소스코드 작성
Greeter.java
public class Greeter {
	private String format;

	public String greet(String guest) {
		return String.format(format, guest);
	}

	public void setFormat(String format) {
		this.format = format;
	}

}
Greeter 클래스의 greet() 메서드는 String의 문자열 포맷을 이용해서 새로운 문자열을 생성한다. greet() 메서드에서 사용할 문자열 포맷은 setFormat() 메서드를 이용해서 설정하도록 구현했다.
AppContext.java
import org.springframework.context.annotation.Bean;
import org.springframework.context.annotation.Configuration;

@Configuration
public class AppContext {

	@Bean
	public Greeter greeter() {
		Greeter g = new Greeter();
		g.setFormat("%s, 안녕하세요!");
		return g;
	}

}
6행의 Configuration 애노테이션은 해당 클래스를 스프링 설정 클래스로 지정한다.
핵심은 09~14행이다. 스프링은 객체를 생성하고 초기화하는 기능을 제공하는데, 09~14행 코드가 한 개 객체를 생성하고 초기화하는 설정을 담고 있다.
스프링이 생성하는 객체를 빈(Bean) 객체라고 부르는데, 이 빈 객체에 대한 정보를 담고 있는 메서드가 greeter() 메서드이다. 이 메서드에는 @Bean 애노테이션이 붙어 있다. @Bean 애노테이션을 메서드에 붙이면 해당 메서드가 생성한 객체를 스프링이 관리하는 빈 객체로 등록한다.
@Bean 애노테이션을 붙인 메서드의 이름은 빈 객체를 구분할 때 사용된다. 예를 들어 스프링이 10~14행에서 생성한 객체를 구분할 때 greeter라는 이름을 사용한다. 이 이름은 빈 객체를 참조할 때 사용된다.
Main.java
import org.springframework.context.annotation.AnnotationConfigApplicationContext;

public class Main {

	public static void main(String[] args) {
		AnnotationConfigApplicationContext ctx =
				new AnnotationConfigApplicationContext(AppContext.class);
		Greeter g = ctx.getBean("greeter", Greeter.class);
		String msg = g.greet("스프링");
		System.out.println(msg);
		ctx.close();
	}
}
- AnnotationConfigApplicationContext 클래스 : 자바 설정에서 정보를 읽어와 빈(Bean) 객체를 생성하고 관리한다.
- AnnotationConfigApplicationContext 객체를 생성할 때 앞서 작성한 AppContext 클래스를 생성자 파라미터로 전달한다. AnnotationConfigApplicationContext는 AppContext에 정의한 @Bean 설정 정보를 읽어와 Greeter 객체를 생성하고 초기화한다.
- getBean() 메서드는 AnnotationConfigApplicationContext가 자바 설정을 읽어와 생성한 빈(bean) 객체를 검색할 때 사용된다. getBean() 메서드의 첫번째 파라미터는 @Bean 애노테이션의 메서드 이름인 빈 객체의 이름이며, 두번째 파라미터는 검색할 빈 객체의 타입이다. 앞서 작성한 자바 설정(AppContext)을 보면 @Bean 메서드의 이름이 "greeter"이고 생성한 객체의 리턴 타입이 Greeter이므로, getBean() 메서드는 greeter() 메서드가 생성한 Greeter 객체를 리턴한다.
- g.greet("스프링") : Greeter 객체의 greet() 메서드를 실행하고 있다.
public String greet(String guest){
	return String.format(format, guest);
}

String.format("%s, 안녕하세요!","스프링")-> "스프링, 안녕하세요!"
1.5 실행 결과

References
초보 웹 개발자를 위한 스프링5 프로그래밍 입문, 최범균 저
'JAVA > Spring' 카테고리의 다른 글
| 3. 스프링 DI(Dependency Injection) #2 객체 조립 (0) | 2021.07.02 |
|---|---|
| 3. 스프링 DI(Dependency Injection) #1 객체 의존과 의존 주입(DI) (0) | 2021.07.02 |
| 2. 스프링 시작하기 #3 싱글톤(Singleton) 객체 (0) | 2021.07.01 |
| 2. 스프링 시작하기 #1 메이븐 프로젝트 생성 (0) | 2021.07.01 |
| 1. 스프링5 소개 및 개발 환경 구축 (0) | 2021.06.30 |